Having a streamlined workflow can save you time and increase productivity. In this guide, we’ll walk you through the essential steps for creating a workflow that works for you.
There are 3 steps to creating a workflow:
- Build your workflow
- Test your workflow
- Activate your workflow.
So, let’s get started!
Step 1: Build your workflow #
Create a workflow #
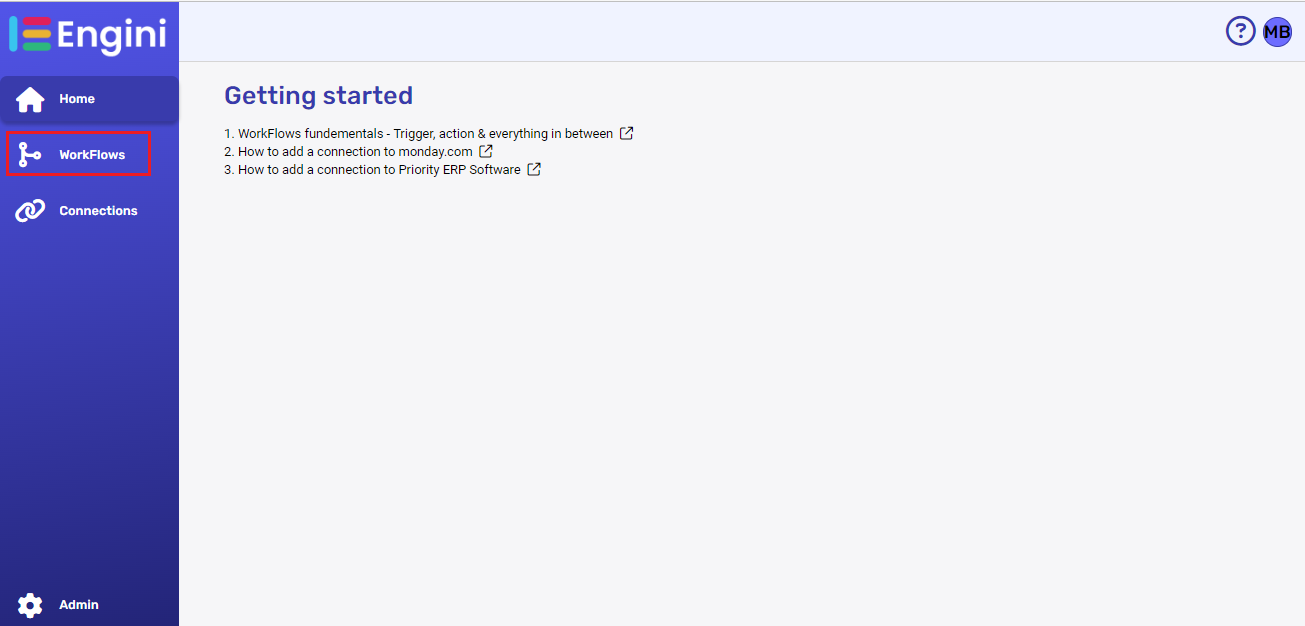
- On the sidebar, click on the “WorkFlows” option.

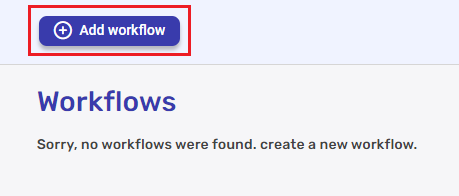
- Press on the “add workflow” button located at the top bar.

Choose a Trigger #
- Follow the instructions above to create a new workflow.
- In the choose activity block presented to you, select the software you want to use for your trigger. You can select the software by either clicking on one of the icons presented to you, or by filtering the requested software and selecting the requested option. You can also filter the trigger activities directly.

- Choose the trigger activity from the available options.

- Fill in the requested fields. You can find the complete guide for each type of trigger activity in the applications category according to the desired app.
Add your Actions #
- Click on the “Next step” button to add an action activity block.

- Select the software you want to use for your action.

- Choose the action activity you from the available options.

- Fill in the requested fields. You can find the complete guide for each type of action activity in the applications category according to the desired app.
- Repeat steps 1-4 to add more actions.
Name your workflow #

By default, each new workflow is assigned the name “new workflow”. This can be altered via a few simple steps:
- Click the “new workflow” phrase located in the top left of the page.
- Remove the current name and enter the new name for the workflow. It is recommended to give a meaningful name to the workflow.
- Save the workflow.
For more information about the on\off status see the workflow editor guide.
Step 2: Test your workflow #
Test your workflow to ensure that all components are functioning correctly.
For more information about the testing see the workflow editor guide.
Step 3: Activate your workflow #
Your workflow is almost ready to go! Engini’s workflows are enabled by default. Make sure the on/off switch is activated.


.png)