This guide will walk you through the process of connecting your Google services such as Drive, Gmail, Workspace, or Sheets to Engini using a custom OAuth 2.0 client configured directly in your Google Cloud Console.
By using your own credentials, you’ll gain full control over how your account connects to Google, improve security, and manage your API connections independently without relying on Engini’s default settings.
Getting Started with Google #
Prerequisites #
- A Google account.
- If you don’t have one, you can create one for free before continuing.
Connecting Engini to Google services #
Set up OAuth #
Follow these steps to connect your Engini credential to Google services:
1. Create a Google Cloud Console project. #
Start by creating a Google Cloud Console project.
- Log in to your Google Cloud Console using your Google credentials.
- In the top menu, click Select a project.
- If you have an existing project: Select it from the list that opens and continue to – Enable APIs
- To create a new project: Click the New Project button and continue with the steps below.
Note: You should have permission to create a project. If you are not the Google Workspace admin, please ask them to grant you this permission.
- Create a new project, fill in the following fields:
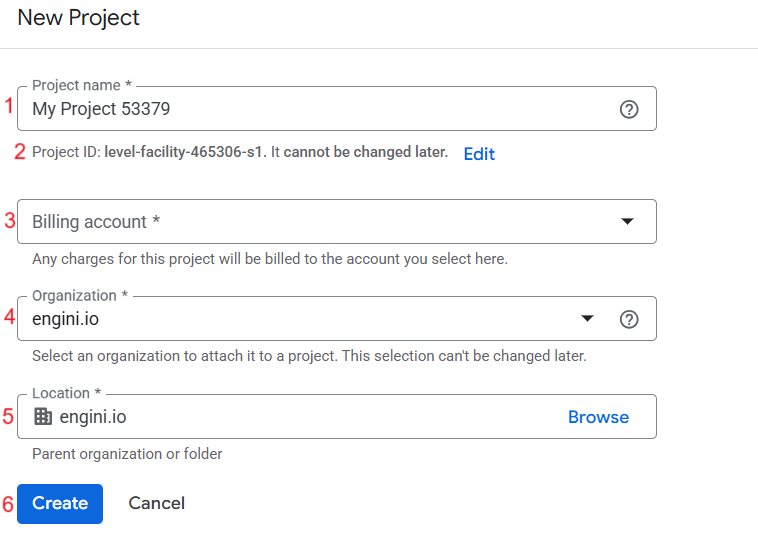
- Project name – Enter a meaningful display name for your project. You can change this at any time.
- Project ID – A unique, global identifier for your project. It is generated automatically and cannot be changed after the project is created.
- Billing account (Mandatory) – Links the project to a payment method. This is required to enable APIs and to pay for any usage that exceeds the free tier.
- Organization – The parent company or entity the project belongs to. This is used to manage permissions and policies for multiple projects centrally.
- Location – The folder within your organization’s hierarchy where the project will be stored. This is primarily for organizational purposes.
- Click the Create button to proceed to the next step.
- Check the top menu to ensure your project is selected in the project dropdown. If it’s not, select the project you just created.

2. Enable APIs #
Now that your project is created or selected, you need to enable the required APIs :
- Make sure the correct project is selected.
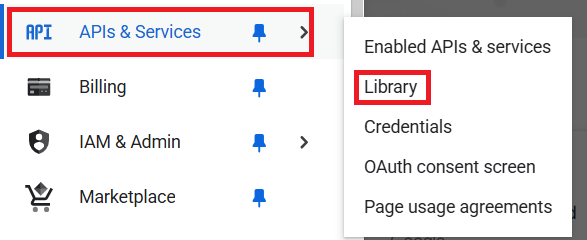
- Go to your Google Cloud Console > APIs & Services > Library.
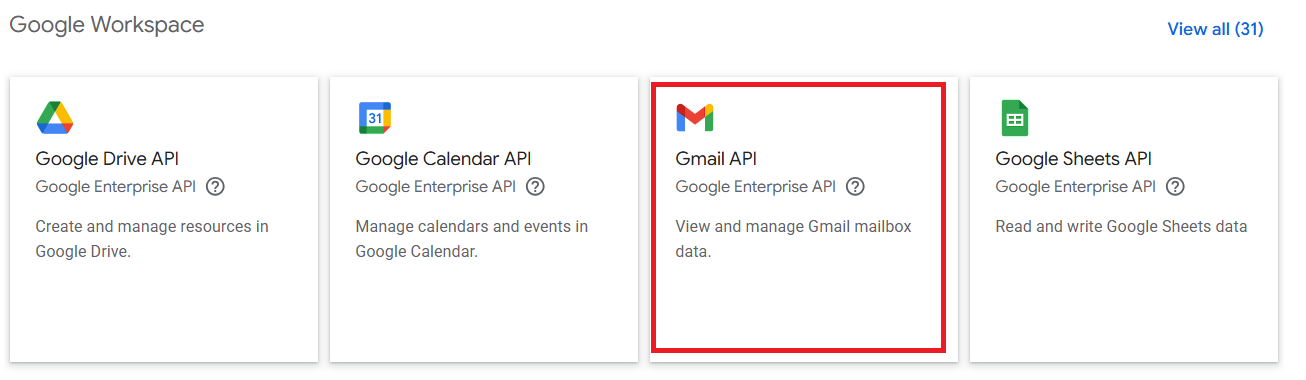
- In the API Library, search for and select the API(s) you want to enable. For example, to enable Gmail, search for and activate the Gmail API.
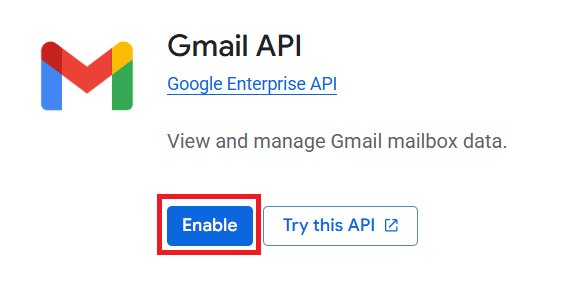
- Select ENABLE.
Important: Enabling All Necessary APIs
Before moving on, double-check which Google services you want to connect to Engini, and make sure their APIs are turned on.
- One API per Service: Each Google service (Gmail, Drive, etc.) is managed by its own API, which needs to be enabled separately.
This is a critical step: If you don’t enable the specific API for a service, Engini won’t be able to access that service.
3. Configure your OAuth consent screen #
When you connect your Google account to Engini, Google requires you to set up an OAuth consent screen. This is what you see when Engini asks permission to access parts of your Google account, like Gmail.
The screen will show Engini’s app name and exactly what types of data Engini will access. This step is important because it helps protect your privacy and meets Google’s security rules.
Next, let’s configure the OAuth consent screen.
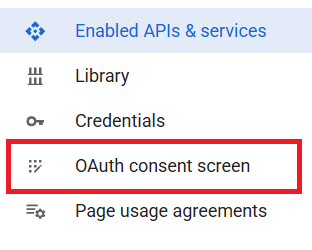
- From the menu, select OAuth consent screen.
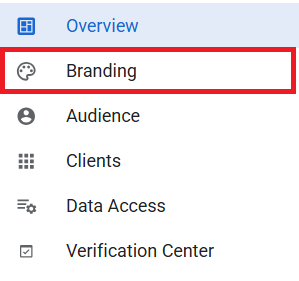
- Next, click on Branding in the menu.
- Now, click on Get Started to begin.
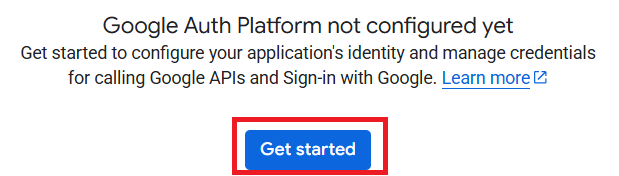
- After you click Get Started, the following window will appear.
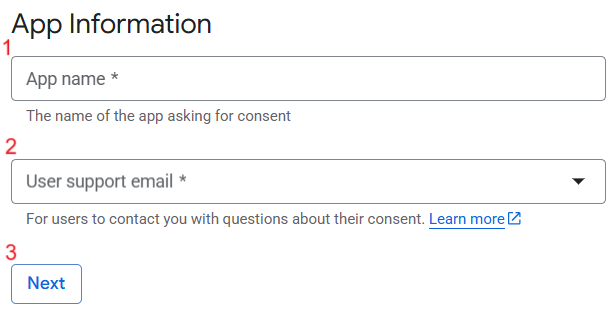
- App name -This is the name of your application that will be shown on the OAuth consent screen. When you authorize Engini to access your Google services, you will see this name. Make sure to enter a clear and meaningful name in the “App name” field so you can easily recognize your app.
- User support email – This is the email address you can provide for contact if anyone has questions or concerns about the permissions your app is requesting. Google will also use this email to send important information about your app’s OAuth configuration.
- After filling in the required fields, click the Next button to proceed to the next step
- Select your Audience.
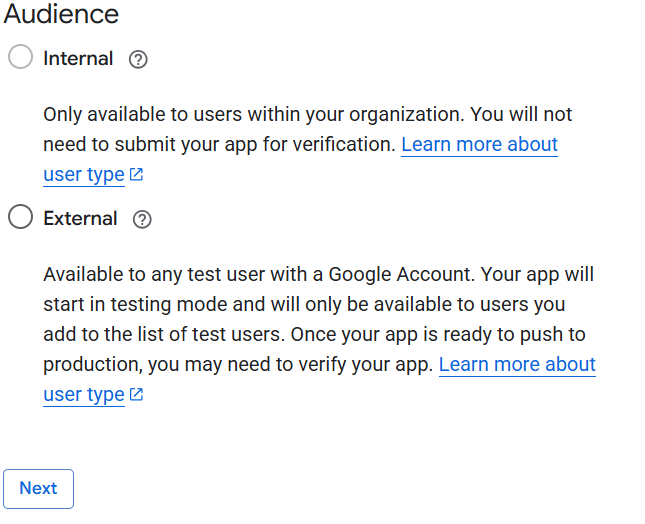
- Choose if the app is for internal of external users
- Internal – Choose this option if your app is intended only for use within your organization. This requires a Google Workspace account, and only users within your domain will be able to access the app.
- External – Choose this option if your app is for anyone with a Google Account. At first, your app will be in testing mode, meaning it will only be accessible to users you manually add as test users (Later on, you’ll see how to add test users).
- Click the Next button to proceed to the next step
- Choose if the app is for internal of external users
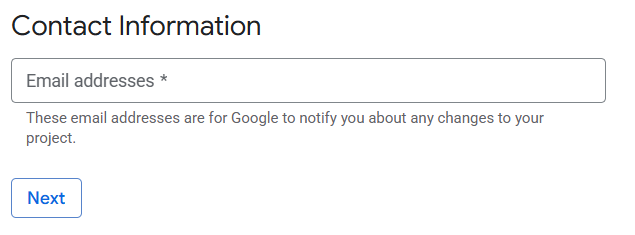
- Contact Information– Enter an email address where you can receive important notifications about your project. Then, click Next to continue.
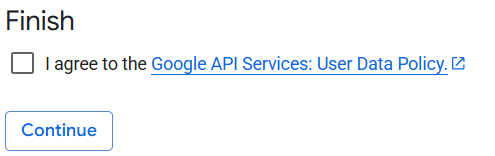
- Finish– Review the Google API Services User Data Policy. Then, click on the checkbox to agree to the policy and click Continue.
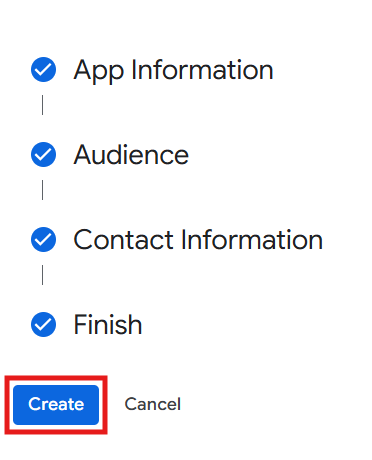
- Click Create after completing all sections: App Information, Audience, Contact Information, and Finish.
- Adding Test Users for External Audience — After configuring your OAuth consent screen, if you selected External as the user type, you can add test users by following the steps below.
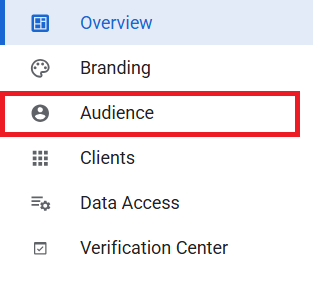
- Select Audience from the menu.
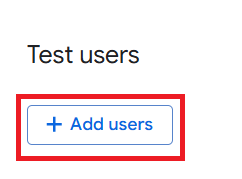
- Scroll down to Test users and click Add users.
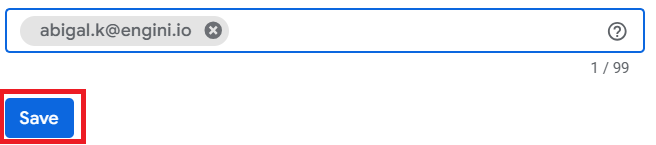
- Enter the email addresses of authorized test users, pressing Enter after each one. When finished, click Save.
- Select Audience from the menu.
- Configure OAuth Scopes
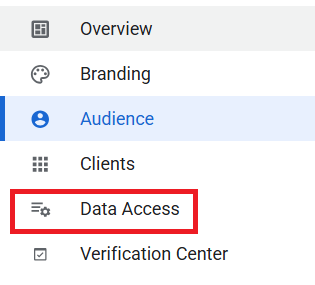
- Click on Data Access in the menu.
- Click on Add or Remove Scopes.

- A window with all available scopes will open. Select the scopes you need, then scroll down and click Update.
- After selecting the required scopes, scroll down and click Save.
- Click on Data Access in the menu.
4. Create your Google OAuth client credentials #
The next step is to create OAuth client credentials in your Google Cloud project.
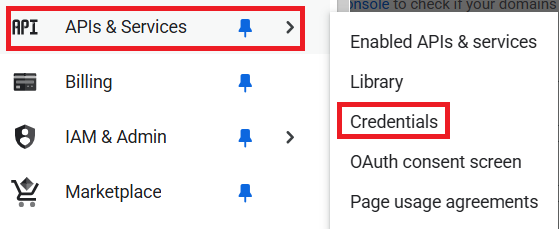
- In your Google Cloud Console, navigate to APIs & Services > Credentials
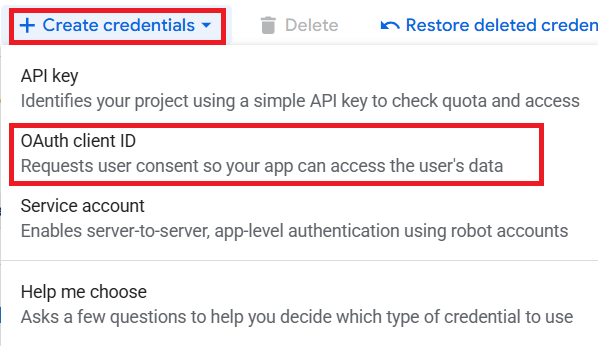
- Select Create credentials > OAuth client ID.
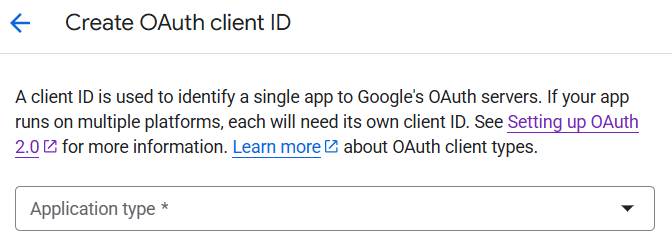
- In the Application type dropdown, select Web application.
- Name Your OAuth Client -Google generates a default name. Change it to something recognizable for easier identification later.

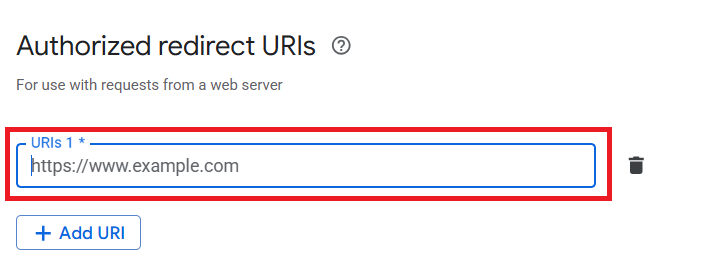
- URIs -Copy the OAuth Redirect URL: https://webhooks.engini.io/api/auth/OAuthRedirectUrl and Paste it into the Authorized redirect URIs in Google Console.
- Click on Create.
5. Complete Your OAuth Credentials for Engini #
With your Google project and credentials fully configured, complete the setup to connect your account to Engini.
- In the OAuth client creation modal from Google, copy your Client ID and Client Secret your Engini connection.
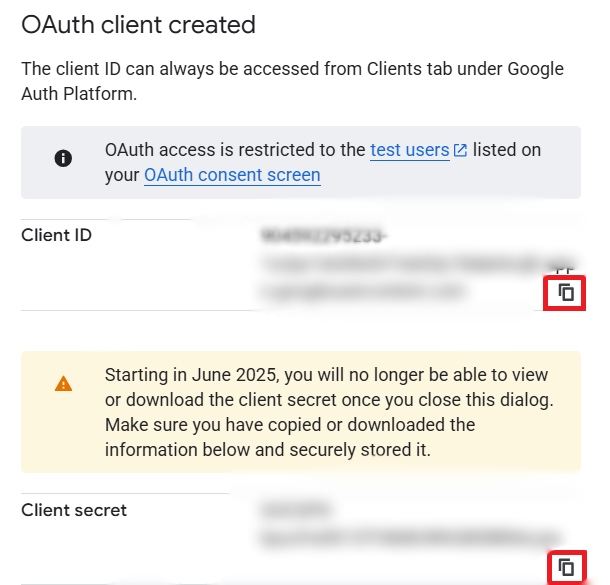
Important: The client secret will be displayed only once. Please ensure you copy it and store it in a secure place in case you need it again.
6. Add a Connection in Engini #
When connecting to Engini using a custom OAuth client, you must select “Custom OAuth2” as the authentication method in your connection settings.
Use the link below to access the appropriate connection guide:


.png)