Discover how to connect Engini with Anthropic and use its activities to manage files, create message batches, and generate AI-powered responses with Claude models.
Getting Started with Anthropic #
Prerequisites #
- An Anthropic account.
You can create an account at Claude.
Retrieve Your Anthropic API Key #
- Create an Anthropic Account:
Complete the sign-in process and get your account. - Log in to Anthropic:
Once you have an account, log in to the Anthropic platform. - Navigate to the API Key Section:
After logging in go to the API Keys section which is typically in the center of the page next to Generate a prompt and Create a Prompt.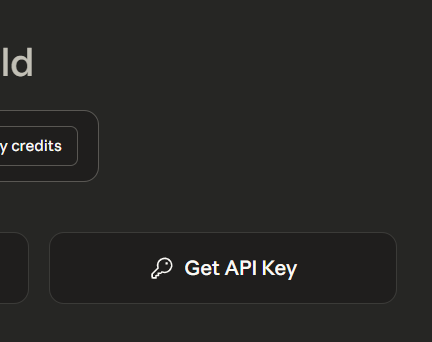
- Generate an API Key:
- Once you click to get API key, a key will be generated.
- Copy the API key. Make sure to store it securely, as it provides access to your Anthropic resources in Engini.
Connecting Engini to Anthropic #
- Enter your Engini account at https://app.engini.io.
- Navigate to Connections page by clicking on the Connections on the left sidebar or by clicking here.
- Click on the Add connection option located at the topbar.
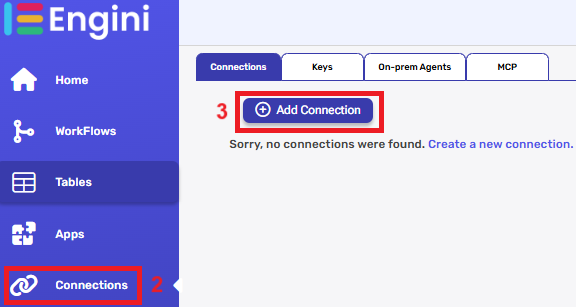
4. Choose Claude option from the available applications.

5. Enter the following details in the “Edit Connection” form:
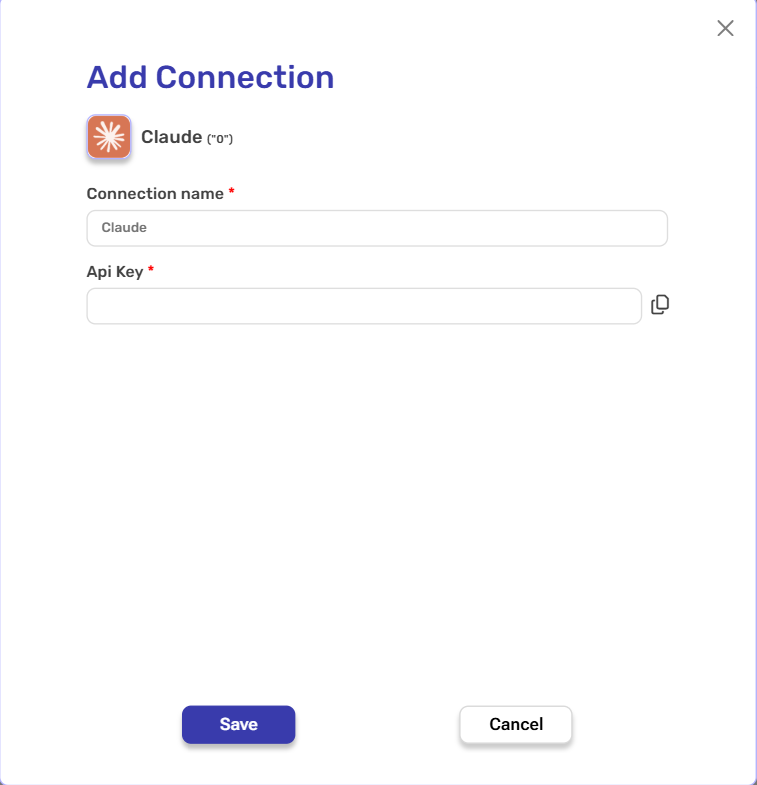
- Connection name – Enter a meaningful name for your connection.
- API Key – When you create an Anthropic account, you’ll receive an API key. Copy it and paste it into this field.
- Save- Click on the save button to save your connection.
Actions #
Create a File #
Upload a new file to your Anthropic account.
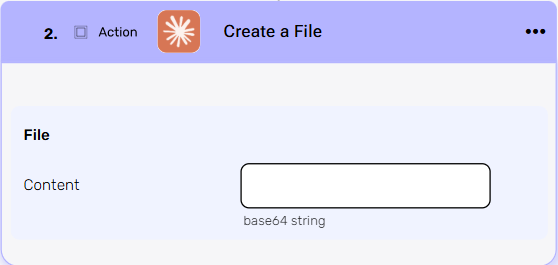
Content
Enter the content for the new file, encoded in Base64.
Create a Message Batch #
Submits multiple messages at once to Anthropic’s API for processing

Fields – Requests[]
This is an array containing all the individual message requests you want to include in the batch.
- Click on the empty field to the right of the drop down to be shown the tooltip with all the options you can use here.
To build it for the Create a Message batch activity, you must follow these steps:- Use Initialize Object Array twice:
- First: Create the inner message array
- Variable: messages, Object Element Type: messages
- Type – the common types are image, document and text.
Note: If you choose image or document, don’t forget to fill in Source Data, Source Type, and Media Type.
- Type – the common types are image, document and text.
- Variable: messages, Object Element Type: messages
- Second: Create the outer requests array
- Variable: requests, Object Element Type: requests
- First: Create the inner message array
- Fields can be filled by clicking Add Field, and Append to Object Array can be used to add additional objects.
- Final Step: In the Create a Message Batch activity, set the Requests[] field to the dynamic variable from step 1 (e.g., requests[]).
- Use Initialize Object Array twice:
Create Messages #
Send a structured list of messages to Anthropic Claude API and receives AI-generated responses.
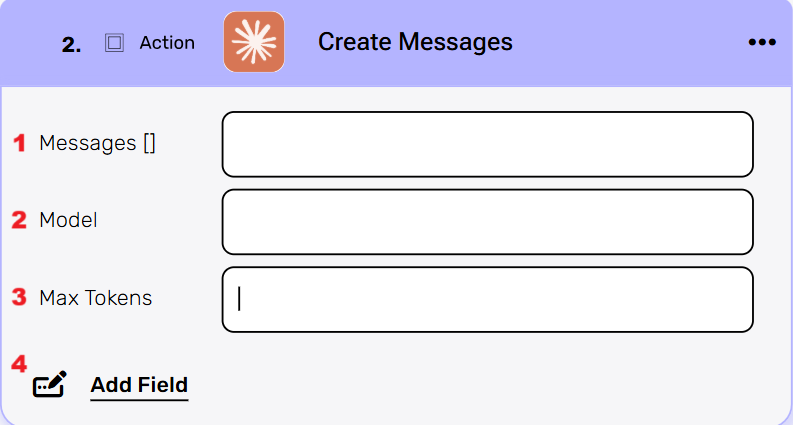
- Messages []
Enter the messages array. Each message must include a role (user or assistant) and a content array. For Claude, each item in the content array must be an object that includes type and its corresponding fields.
To build it for the Create Messages activity, you must follow these steps:- Use Initialize Object Array twice:
- First: Create the inner content array
- Variable: content, Object Element Type: content
- Type – the common types are image, document and text.
Note: If you choose image or document, don’t forget to fill in Source Data, Source Type, and Media Type.
- Type – the common types are image, document and text.
- Variable: content, Object Element Type: content
- Second: Create the outer messages array
- Variable: messages, Object Element Type: messages
- First: Create the inner content array
- Fields can be filled by clicking Add Field, and Append to Object Array can be used to add additional objects.
- Final Step: In the Create Messages activity, set the Messages field to the dynamic variable from step 1 (e.g., messages[]).
- Use Initialize Object Array twice:
- Model
Select the Anthropic Claude model you want to use (e.g., claude-3-sonnet-20240229, claude-3-opus-20240229). - Max Tokens
Set the maximum number of tokens Claude can generate in the response. - Add Field
By clicking the “Add field” button, you can choose how to fill in the various fields in the messages you are creating. You can add one field to the activity or more fields to the activity definitions, up to the number of fields you have in the selected object. The fields vary depending on the selected object.
- Click on the empty field to the right of the drop down to be shown the tooltip with all the options you can use to fill the field.
- You can populate the field in one of the following options:
- Static value – number / string. when using strings, you need to surround them with single quotes (‘).
- Property value from a previous activity (Using the tooltip that opens when clicking on the field).
- Expression – using functions and/or Previous activity properties and/or static values (Using the tooltip that opens when clicking on the field).
- Repeat steps 1-3 for all the fields you want to populate.
Example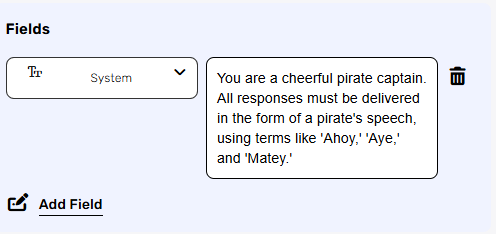
The system field for example is an optional field that acts as a super-prompt that the Claude model reads and internalizes before it processes the user’s messages.
Initialize Object #
Creates a new variable object in your workflow to store structured data for use in subsequent Claude steps. For example, a Message[] object can be initialized here and used in other actions, such as creating messages.
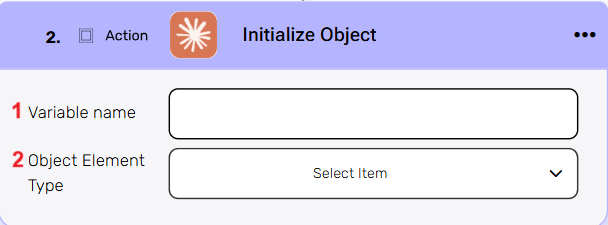
- Variable name
Enter a name for the new object variable you’re creating. This name will be used to reference this object in other workflow steps. - Object Element Type
Select the type of data structure you want to initialize from the dropdown options. This action prepares an empty object of the specified type that you can then populate with data in later workflow steps.
Append to Object Array #
Adds new data elements to an existing array of objects in your workflow.
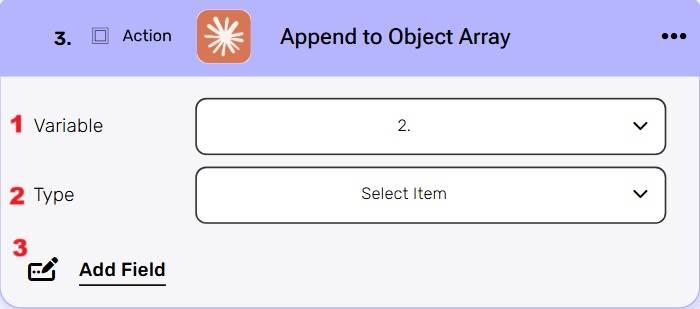
- Select Variable
Select the array variable from your workflow that you want to append new objects to. This dropdown shows all available array variables that you initialized from previous steps in your automation. - Type
After adding a variable to the action, any mandatory fields will appear (if there are any). In this example, the selected variable shows a ‘Type’ field below the variable selection. - Add Field
By clicking the “Add field” button, you can choose how to fill in the various fields in the object you are creating. You can add one field to the activity or more fields to the activity definitions, up to the number of fields you have in the selected object. The fields vary depending on the selected object.
- Choose from the drop down the field you want to fill.
- Click on the empty field to the right of the drop down to be shown the tooltip with all the options you can use to fill the field.
- You can populate the field in one of the following options:
- Static value – number / string. when using strings, you need to surround them with single quotes (‘).
- Property value from a previous activity (Using the tooltip that opens when clicking on the field).
- Expression – using functions and/or Previous activity properties and/or static values (Using the tooltip that opens when clicking on the field).
- Repeat steps 1-3 for all the fields you want to populate.
Map Object Array #
This activity is particularly useful when there is an array of data that needs to be translated into another structure.
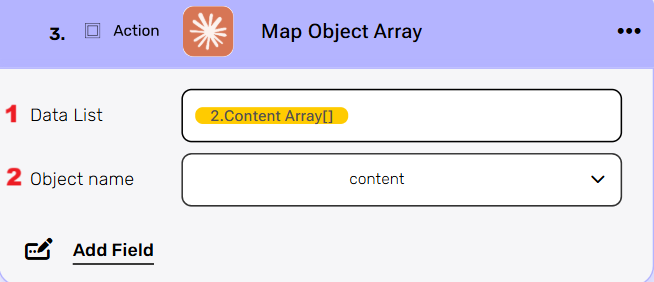
- Data List
Choose a data list that you’ve obtained from previous activities in your workflow. This data list typically contains an array of objects that you want to process and transform. - Object name
You need to define the type of objects from the drop down that will be stored within the array. - Add Field
By clicking the “Add field” button, you can choose how to fill in the various fields when you are mapping.- Choose from the drop down the field you want to fill.
- Click on the empty field to the right of the drop down to be shown the tooltip with all the options you can use to fill the field.
- You can populate the field in one of the following options:
- Static value – number / string. when using strings, you need to surround them with single quotes (‘).
- Property value from a previous activity (Using the tooltip that opens when clicking on the field).
- Expression – using functions and/or Previous activity properties and/or static values (Using the tooltip that opens when clicking on the field).
- Repeat steps 1-3 for all the fields you want to populate.
- Choose from the drop down the field you want to fill.
Delete a Message Batch #
Cancels and removes a previously submitted batch of messages from Anthropic’s processing queue.
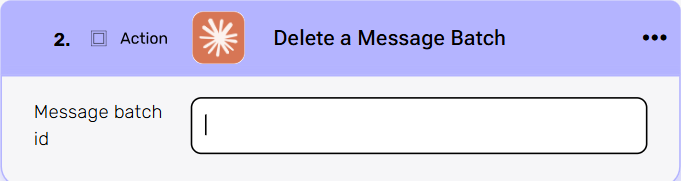
Message batch id
Enter the unique identifier of the message batch you want to delete. This ID was provided when you originally created the batch request to Anthropic’s API.
Delete File #
This action permanently deletes the file and cannot be undone. Ensure you have the correct file ID before executing this action.
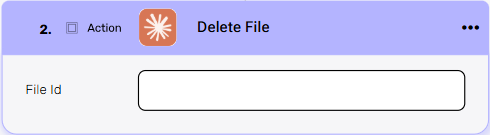
File Id
Enter the unique identifier of the file you want to delete. This ID was provided when the file was originally created or uploaded to the system.
Download File #
Download the contents of a Claude generated file.
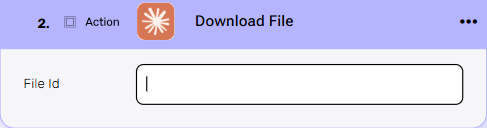
File Id
Enter the unique identifier of the file you want to download. This ID was provided when the file was originally created or uploaded to the system.
Cancel a Message Batch #
Stops the processing of a submitted message batch that is currently in queue or being processed by Anthropic’s API.
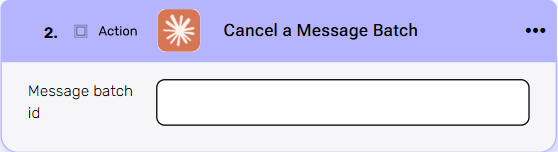
Message batch id
Enter the unique identifier of the message batch you want to cancel. This ID was provided when you originally created the batch request to Anthropic’s API.
Get File Metadata #
Retrieves information about a file without downloading its actual content, such as file size, creation date, file type, and other properties.

File Id
Enter the unique identifier of the file you want to download. This ID was provided when the file was originally created or uploaded to the system.
Retrieve a Message Batch #
Fetches detailed information about a specific message batch, including its current processing status and metadata.

Message batch id
Enter the unique identifier of the message batch you want to retrieve information for. This ID was provided when you originally created the batch request.
Retrieve Message Batch Results #
Fetch the results of a previously submitted message batch.
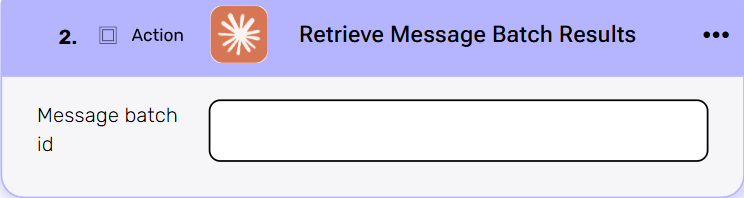
Message batch id
Enter the unique identifier of the message batch you want to retrieve information for. This ID was provided when you originally created the batch request.
Count Message Tokens #
Calculates the total number of tokens that will be consumed by your messages before sending them to Anthropic’s API, helping you estimate costs and manage usage.
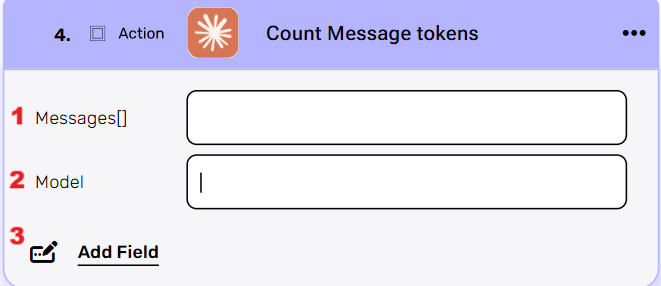
- Messages[ ]
Select the array of messages you want to count tokens for. Each message should contain the text content you plan to send to Claude. - Model
Choose the specific Anthropic model (e.g., Claude Sonnet, Claude Opus) you intend to use. - Add Field
By clicking the “Add field” button, you can add additional parameters to customize how token counting is performed or to include metadata with your token count request. You can add one field to the activity or more fields to the activity definitions, up to the number of fields in the object.
- Choose from the drop down the field you want to fill.
- Click on the empty field to the right of the drop down to be shown the tooltip with all the options you can use to fill the field.
- You can populate the field in one of the following options:
- Static value – number / string. when using strings, you need to surround them with single quotes (‘).
- Property value from a previous activity (Using the tooltip that opens when clicking on the field).
- Expression – using functions and/or Previous activity properties and/or static values (Using the tooltip that opens when clicking on the field).
- Repeat steps 1-3 for all the fields you want to populate.
List Files #
Retrieves your list of files with options to filter and limit the results.
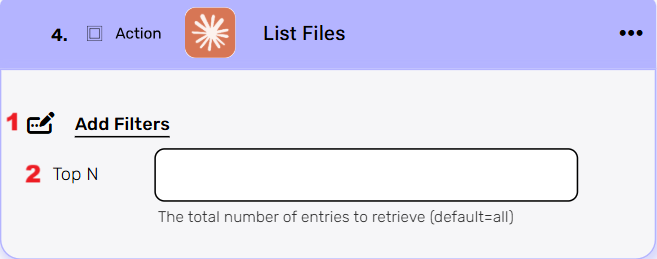
- Add Filters
You can specify which files will be returned from the search results by utilizing the “Add Filter” button.- Choose from the drop down the field you want to filter by.
- Select the condition you want the records to meet for the selected field.
- Click on the field to show the tooltip with all the options you can choose.
- You can populate the field in one of the following options:
- Static value – number / string. when using strings, you need to surround them with single quotes (‘).
- Property value from a previous activity (Using the tooltip that opens when clicking on the field).
- Expression – using functions and/or Previous activity properties and/or static values (Using the tooltip that opens when clicking on the field).
- Repeat steps 1-3 for all the fields you want to populate.
- Top N
You can specify how many files you want to retrieve by clicking on ‘Top N’ and entering the maximum number of files you want to return.
If you setTop N = 1, a single file will be returned instead of an array. If no file is found when usingTop N = 1, the action will fail, allowing you to implement an IF condition within the workflow. This functionality is useful for processes where the existence of a specific file determines the next steps in the workflow.
List Message Batches #
Retrieves a list of all message batches that have been created in your Anthropic account, showing their details.


.png)