Learn how to connect QuickBooks to Engini, enabling efficient integration of your accounting and financial management processes. With the QuickBooks connector, you can access real-time financial data, automate tasks like invoice processing, customer record management, and financial reporting, and enhance operational efficiency.
Connecting Engini to Quickbooks #
- Enter your Engini account at https://app.engini.io.
- Navigate to Connections page by clicking on the Connections on the left side bar or by clicking here.
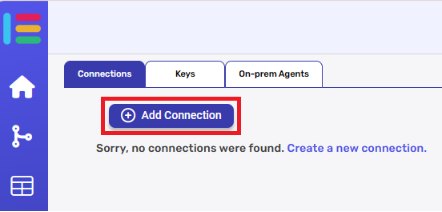
- Click on the “Add connection” option located at the top bar.
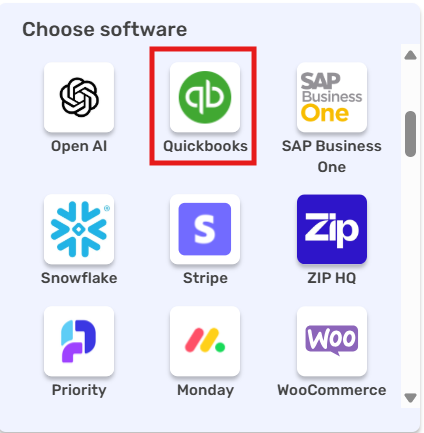
- Choose “Quickbooks” option from available applications.
- Enter the following details in the “Add Connection” form:
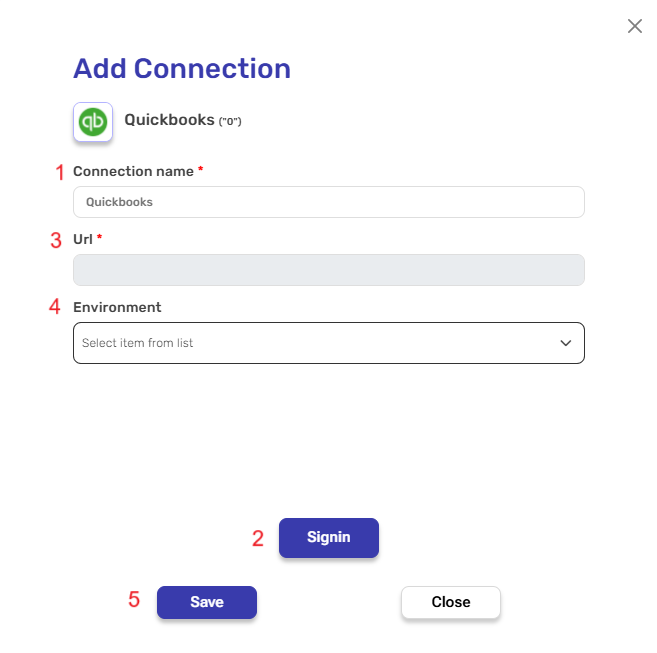
- Connection Name: A unique identifier for the connection within Engini.
- Signin: When you click on ‘Signin’, the following window appears.
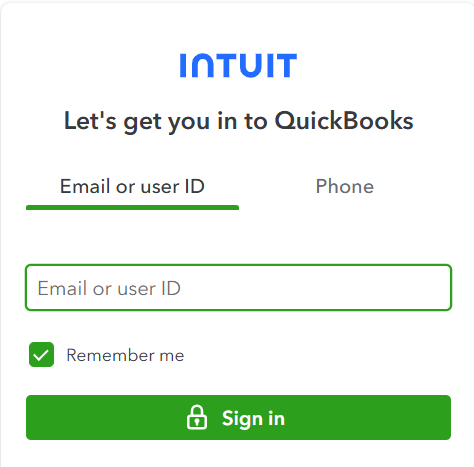
Fill in your login details. - Url: After logging into your account, your URL will appear automatically on the screen in Engini.
- Environment: Select the appropriate environment from the dropdown list:
- Sandbox – for testing
- Production – for live data
- After signing in, click Save to finalize and store the connection.
Activities #
Create Record #
This activity creates a new record in QuickBooks based on the selected object type.

Object Type – Select the type of QuickBooks object you want to create (e.g., Customer, Invoice, Item). The available options depend on the integration capabilities and the specific data model supported by QuickBooks.
After selecting the object type (e.g., Accounts), provide the necessary detail.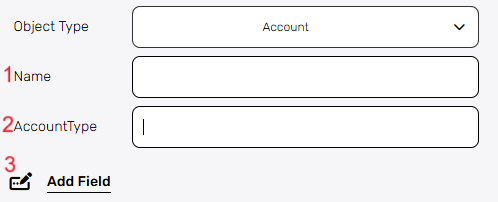
- Name – Enter the name of the account you want to create.
- AccountType – Select the type of account (e.g., Bank, Credit Card, Expense). This defines how the account will behave in the system.
- Add Field – By clicking the “Add field” button, you can choose how to fill in the various fields in the record you are creating. You can add one field to the activity or more fields to the activity definitions, up to the number of fields you have in the selected object. The fields vary depending on the selected object.
Choose from the drop down the field you want to fill.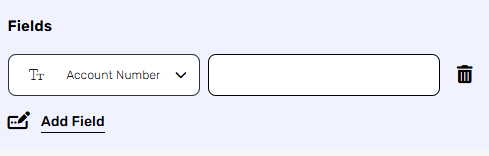
- Click on the empty field to the right of the dropdown to see a tooltip with all the available options you can use to fill the field.
- You can populate the field in one of the following options:
- Static value – number / string. when using strings, you need to surround them with single quotes (‘).
- Property value from a previous activity (Using the tooltip that opens when clicking on the field).
- Expression – using functions and/or Previous activity properties and/or static values (Using the tooltip that opens when clicking on the field).
- Repeat steps 1-3 for all the fields you want to populate.
Delete record #
This activity deletes an existing record from QuickBooks based on the specified object type and record ID.

- Object Type – You can choose from the following objects to delete a record: Bill, Payment, or Invoice.
- Id – Enter the unique identifier of the record you want to delete. This value must match an existing record in QuickBooks.
After selecting the object type (e.g., Bill), provide the necessary detail.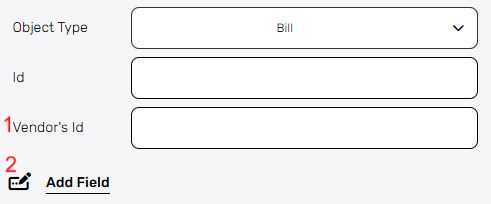
1. Vendor’s Id – Enter the unique identifier of the vendor associated with the bill you want to delete.
2. Add Field – By clicking the “Add field” button, you can choose how to fill in the various fields in the record you are creating. You can add one field to the activity or more fields to the activity definitions, up to the number of fields you have in the selected object. The fields vary depending on the selected object.
Choose from the drop down the field you want to fill.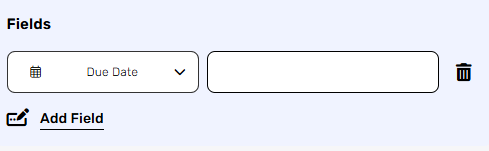
- Click on the empty field to the right of the dropdown to see a tooltip with all the available options you can use to fill the field.
- You can populate the field in one of the following options:
- Static value – number / string. when using strings, you need to surround them with single quotes (‘).
- Property value from a previous activity (Using the tooltip that opens when clicking on the field).
- Expression – using functions and/or Previous activity properties and/or static values (Using the tooltip that opens when clicking on the field).
- Repeat steps 1-3 for all the fields you want to populate.
Get Record #
This activity retrieves a specific record from QuickBooks using its object type and record ID.
Use this when you need to access detailed information about a particular record for use later in your workflow.
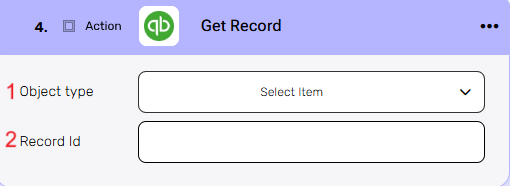
- Object type –Select the type of QuickBooks object you want to retrieve (e.g., Customer, Invoice, Item).
- Record Id – Enter the unique identifier of the record you want to fetch. The retrieved data can be used in subsequent steps.
Get Records #
This activity retrieves multiple records of a specific object type from QuickBooks.
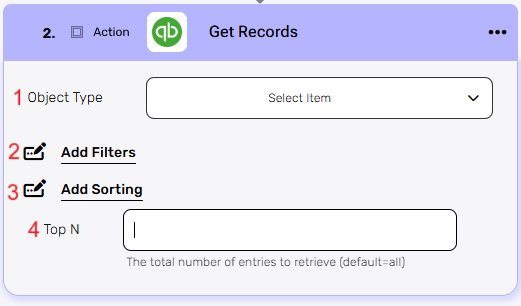
- Object Type – Select the type of object you want to retrieve records from.
- Add Filters – You can specify which records will be returned from the search results by utilizing the “Add Filter” button.
- Choose from the drop down the field you want to filter by.
- Select the condition you want the records to meet for the selected field.
- Click on the field to show the tooltip with all the options you can choose.
- You can populate the field in one of the following options:
- Static value – number / string. when using strings, you need to surround them with single quotes (‘).
- Property value from a previous activity (Using the tooltip that opens when clicking on the field).
- Expression – using functions and/or Previous activity properties and/or static values (Using the tooltip that opens when clicking on the field).
- Repeat steps 1-3 for all the fields you want to populate.
- You can populate the field in one of the following options:
- Add Sorting
You can define your own sort for the records.- Click on the “add sorting” button.
- Choose from the drop down the field you want to sort by.
- Choose the sorting option: descending or ascending.
- You can do a multi sort by choosing to sort more than one field. Use the arrows on the right to select the field that will be used as the primary sort, secondary, etc.
- Top N – You can specify how many records with the same value you want to get. Click on ‘Top N’ and enter the maximum number of values you want to retrieve.
If you setTop N = 1, a single record will be returned instead of an array. If no record is found, the action will fail, allowing you to implement an IF condition within the workflow. This can be useful for processes where the existence of a record determines the next steps in the workflow.
Initialize Objects Variable #
This activity initializes a new variable designed to hold an array of objects of a specific QuickBooks type.
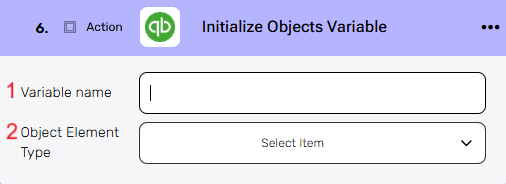
- Variable name – Enter a name for the variable that will store the array of objects.
- Object Element Type – Select the type of object that this variable will contain (e.g., Invoice, Payment, Bill). This determines the structure and available fields for each item in the list.
After selecting a specific object, you will have the option to populate it’s fields by using “Add Field”.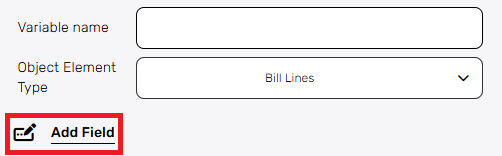
Add Field – By clicking the “Add field” button, you can choose how to fill in the various fields for the action being executed. You can add one field to the activity or more fields to the activity definitions, up to the number of fields you have in the selected object. The fields vary depending on the selected object.
Choose from the drop down the field you want to fill.
- Click on the empty field to the right of the dropdown to see a tooltip with all the available options you can use to fill the field.
- You can populate the field in one of the following options:
- Static value – number / string. when using strings, you need to surround them with single quotes (‘).
- Property value from a previous activity (Using the tooltip that opens when clicking on the field).
- Expression – using functions and/or Previous activity properties and/or static values (Using the tooltip that opens when clicking on the field).
- Repeat steps 1-3 for all the fields you want to populate.
Append Object To Array #
This action adds a new object to an existing object array variable that was initialized earlier in the workflow.
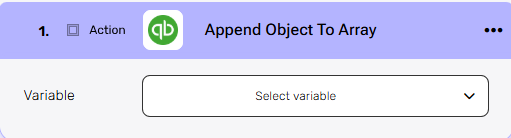
Variable – Select the array you initialized in the previous steps.
After selecting the variable, the “Add Field” option becomes available.
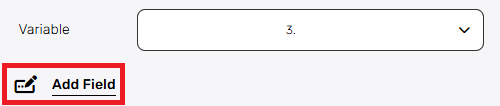
Add Field
By clicking the “Add field” button, you can choose how to fill in the various fields in the object you are creating. You can add one field to the activity or more fields to the activity definitions, up to the number of fields you have in the selected object. The fields vary depending on the selected object.
Choose from the drop down the field you want to fill.
- Click on the empty field to the right of the dropdown to see a tooltip with all the available options you can use to fill the field.
- You can populate the field in one of the following options:
- Static value – number / string. when using strings, you need to surround them with single quotes (‘).
- Property value from a previous activity (Using the tooltip that opens when clicking on the field).
- Expression – using functions and/or Previous activity properties and/or static values (Using the tooltip that opens when clicking on the field).
- Repeat steps 1-3 for all the fields you want to populate.
Map Array #
This activity transforms a list of data into an array of QuickBooks-compatible objects.
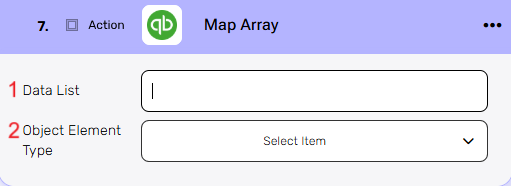
- Data List – Select the list of items you want to transform. This can be a variable or output from a previous step.
- Object Element Type – Select the type of object that each item in the list represents. This defines the structure and available fields for each item during the mapping process.
After selecting a specific object, you will have the option to populate it’s fields by using “Add Field”.
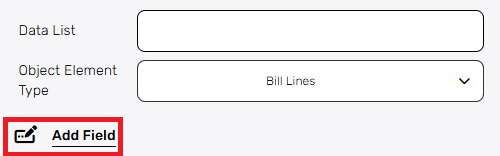
Add Field
By clicking the “Add field” button, you can choose how to fill in the various fields in the record you are creating. You can add one field to the activity or more fields to the activity definitions, up to the number of fields you have in the selected object. The fields vary depending on the selected object.
Choose from the drop down the field you want to fill.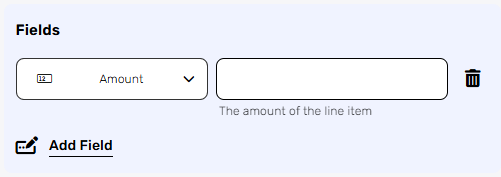
- Click on the empty field to the right of the drop down to be shown the tooltip with all the options you can use to fill the field.
- You can populate the field in one of the following options:
- Static value – number / string. when using strings, you need to surround them with single quotes (‘).
- Property value from a previous activity (Using the tooltip that opens when clicking on the field).
- Expression – using functions and/or Previous activity properties and/or static values (Using the tooltip that opens when clicking on the field).
- Repeat steps 1-3 for all the fields you want to populate.
Update Record #
This activity updates an existing record in QuickBooks based on its object type and ID.
Use this to make changes to specific fields of a record, such as updating customer information, modifying an invoice, or editing item details.
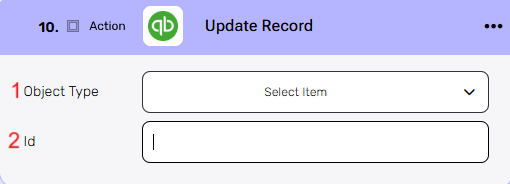
- Object Type – Select the type of QuickBooks object you want to update (e.g., Customer, Invoice, Item).
- Id – Enter the unique identifier of the record you want to update.
After selecting the action type (e.g., Send Email), provide the necessary details for the action.
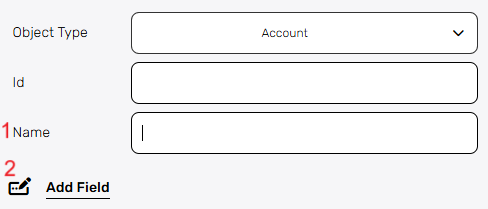
- Name – The field refers to the new name you want to assign to the selected Account record.
- Add Field – By clicking the “Add field” button, you can choose how to fill in the various fields for the action being executed. You can add one field to the activity or more fields to the activity definitions, up to the number of fields you have in the selected object. The fields vary depending on the selected object.
Choose from the drop down the field you want to fill.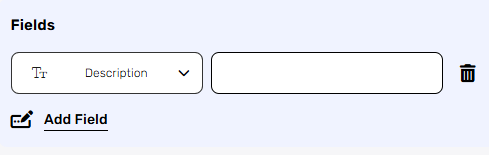
- Click on the empty field to the right of the dropdown to see a tooltip with all the available options you can use to fill the field.
- You can populate the field in one of the following options:
- Static value – number / string. when using strings, you need to surround them with single quotes (‘).
- Property value from a previous activity (Using the tooltip that opens when clicking on the field).
- Expression – using functions and/or Previous activity properties and/or static values (Using the tooltip that opens when clicking on the field).
- Repeat steps 1-3 for all the fields you want to populate.
Update Category #
This activity updates an existing category record in QuickBooks.
Use this to modify the details of a category, such as its name, description, or other fields, based on your workflow requirements.
Add Field
By clicking the “Add field” button, you can choose how to fill in the various fields in the record you are creating. You can add one field to the activity or more fields , up to the number of fields you have in the selected object. The fields vary depending on the selected object.
Choose from the drop down the field you want to fill.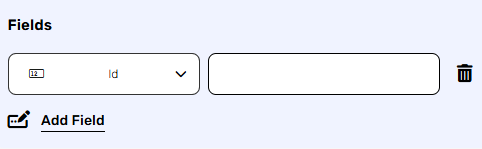
- Click on the empty field to the right of the dropdown to see a tooltip with all the available options you can use to fill the field.
- You can populate the field in one of the following options:
- Static value – number / string. when using strings, you need to surround them with single quotes (‘).
- Property value from a previous activity (Using the tooltip that opens when clicking on the field).
- Expression – using functions and/or Previous activity properties and/or static values (Using the tooltip that opens when clicking on the field).
- Repeat steps 1-3 for all the fields you want to populate.
Send Api Request #
This activity allows you to send a custom API request directly to the QuickBooks API.
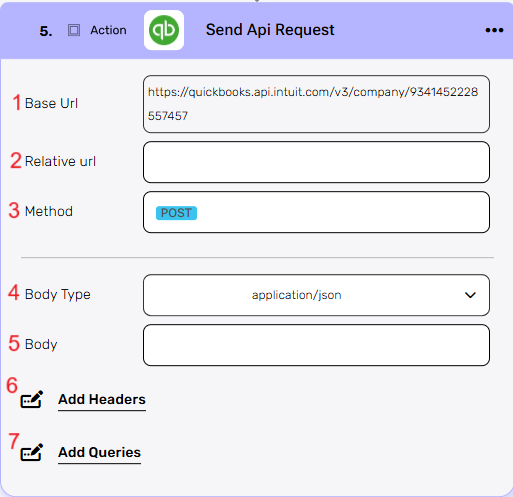
- Base Url – This is the root URL of the API you’re sending the request to.
- Relative url – You can specify additional path segments or parameters that need to be added to the end of the automatically generated URL. This allows you to customize the specific request you want to perform.
- Method – Select the HTTP method (e.g., Get, Post, Put, Delete, Patch).
- Body Type – Defines the format of the data in the body of your request. Commonly used values include application/json (as shown), which means the body will contain a JSON-formatted payload.
- Body – Contains any data that is being sent to the server.
- Add Headers – Additional metadata about the request, such as the type of data the Engini can accept, the length of the request body, and authentication information.
- Add Queries – The query refers to the parameters or data that are included in the URL of an HTTP request to provide additional information or instructions to the server.


.png)