Compose String #
The Compose String is type less. You can provide it with any type of data as an input, and it will provide you back an output after doing anything we ask it to with things like expressions. Compose String will effectively tell you what the output will be of some content you give it.
Compose Html #

Compose HTML accepts diverse inputs and uses expressions to generate HTML content. It provides flexibility in creating HTML structures based on different data types and expressions.
The difference between variables and when to use Construct #
The construct simulates opening a note pad at runtime.
Variables can be initialized then repeatedly updated in your workflow. Construct doesn’t do the same thing. When you have a value that needs to be set once and accessed from anywhere within your flow below your ‘setting’ action, this is when to use a construct. Construct can only be set once, and cannot be changed after, until of course the flow is run again with new data.
Convert String Encoding #

- Input: Enter a string you want to convert. If you have Base 64 and not a string, use the Base64ToString function.
- Choose the Input Encoding: Click on the empty field and choose from the popup the encoding type.

- Choose the Output Encoding: Click on the empty field and choose from the popup the encoding type.
Parse JSON to XML #
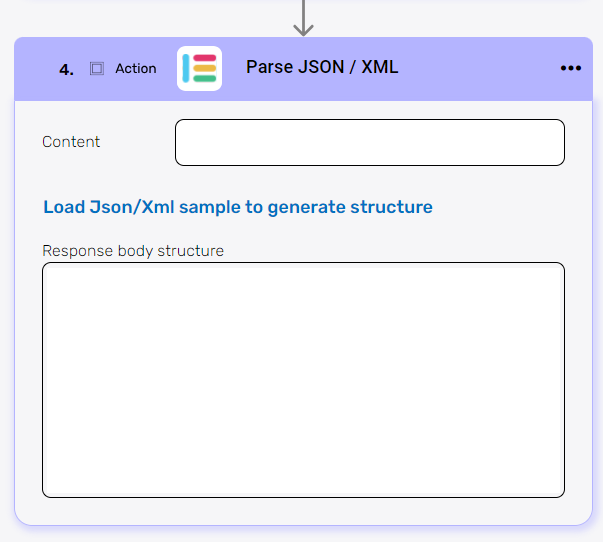
- Content
Click on the empty field and the tooltip will pop up showing contents from the previous activities which you can choose to parse. - Click on the “Load Json/Xml sample to generate structure.

- Paste sample JSON payload.
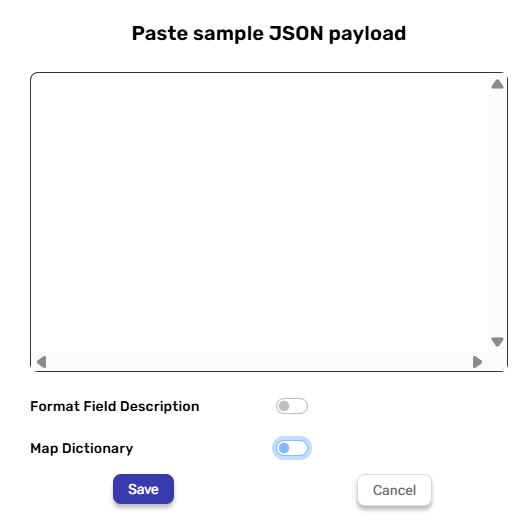
- Format Field Description
This feature capitalizes the first letter of each field and removes unnecessary characters, such as the underscore (“_”). - Map Dictionary
If your JSON is structured as a dictionary, you can parse it as key-value pairs. This makes it easier to loop through each entry and access the data you need. Each key-value pair includes a key (the name or identifier) and a value (the data associated with that key).
Run Workflow #
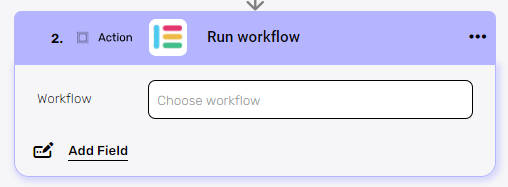
- Workflow
Click on the empty field, and a tooltip will appear with all the workflows linked to your project that has the button trigger.
Now, you get to choose which one will be running! - Click on ‘Add Field’ in order to check out the value of the field you imported into the workflow.
ReRun Workflow History #

- Workflow
Click on the empty field, and a tooltip will appear with all the workflows linked to your project that has the button trigger.
Then, you can choose which one to run! - History Id
Provide the history ID or array of IDs that you want to rerun. To obtain the workflow history ID of the currently running workflow, you can use the “GetWorkflowHistoryId()” function.
Parse Phone Number #
This action helps you standardize phone numbers.
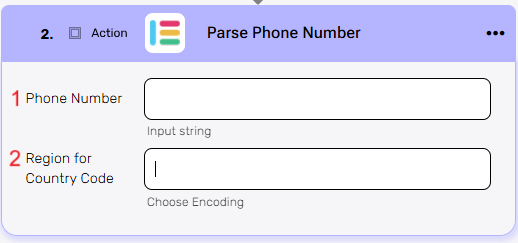
- Phone Number
Enter the phone number you want to check or clean. - Region for Country Code
This field defines the country or region context used to interpret the phone number correctly.- Click on the empty field and the tooltip will pop up showing all the available country codes.
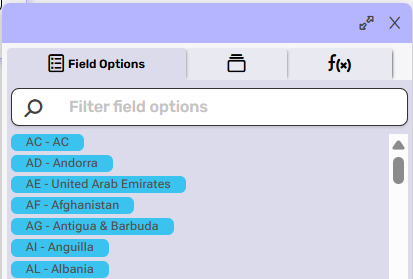
- Select the option that matches your desired country or region.
- Click on the empty field and the tooltip will pop up showing all the available country codes.
Display Web Page #
This action displays a custom web page to the user, using the values provided in the Header, Body, and Footer fields.
The action is triggered by a webhook (for example, when a customer clicks a specific button), and then the corresponding Display Web Page is shown to the customer with the provided details.
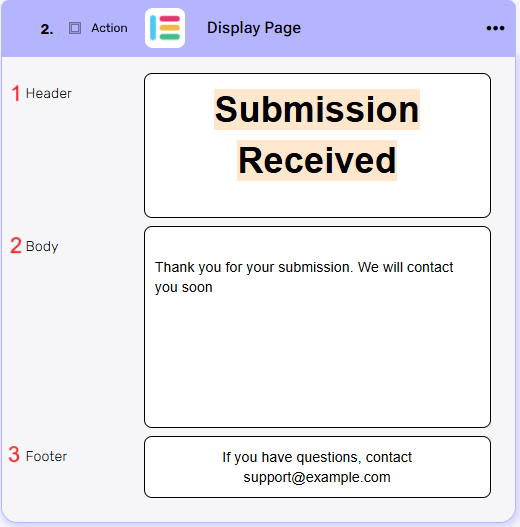
- Header – The main title or message displayed at the top of the page. Use this field to grab the user’s attention or confirm the purpose of the page (e.g., “Submission Received”).
- Body – The main content area of the page. This is where you provide detailed information, instructions, or confirmation messages (e.g., “Thank you for your submission. We will contact you soon.”).
- Footer – The text shown at the bottom of the page. Typically used for additional notes, support contact details (e.g., “If you have questions, contact support@example.com”).
Steps #
- Click the empty field to open a window where you can enter your value.
- Enter the value you want to display on the web, and use the toolbar to apply formatting such as bold, italic, underline, alignment, and more.
You can also add : - When you’re done, click save.


.png)